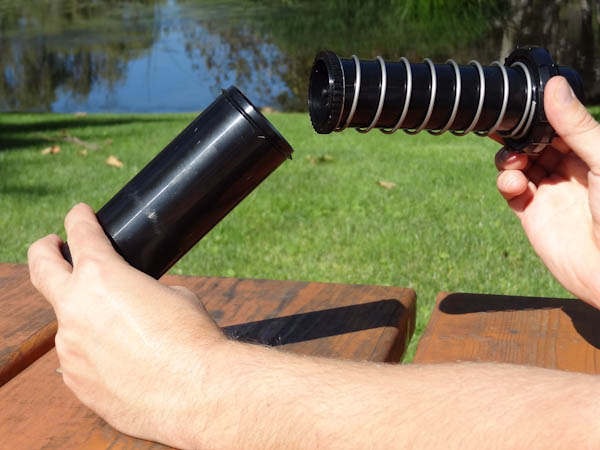
Hunter rotors have replaceable riser seals that may wear out over time. Sandy soils, sunken heads, or extremely hot and cold temperatures may also cause a seal to wear out prematurely.The replacement seal kit is available as a replacement part (P/N 253400) and can be ordered through any authorized Hunter distributor.
The new parts in this kit incorporate improvements that increase their durability and life of service. When making repairs, we recommend strongly that both the seal and spring seat be replaced to maximize their effectiveness. Before turning on the sprinkler to check for leaks, necessary adjustments and proper retraction. It's also a good idea to check the final installation height to determine the sprinkler is set to grade.
Replacing the Riser Seal on a Hunter rotor
Still need help? We're here.
Tell us what you need support with and we'll find the best solution for you.


