Press the Main Menu button and turn the dial to the Settings menu. Push the dial to select.

Dial down to the Networking selection and select it.

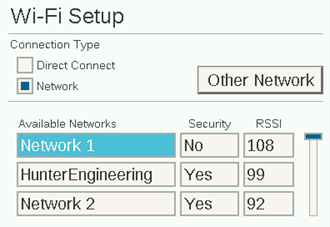
Press the soft key for Wi-Fi Setup. If the module will be used to connect to a wireless networking router, select the check box for Network. A list of available networks will be displayed, along with their security status and Relative Signal Strength (RSSI). An RSSI of at least 70 is recommended for reliable communications.

Use the dial to move to the network that will be used for the controller connection and click to select it.

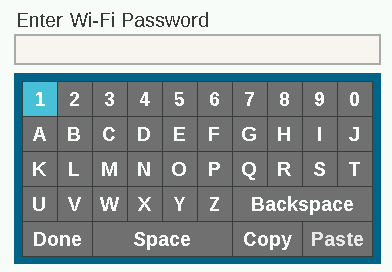
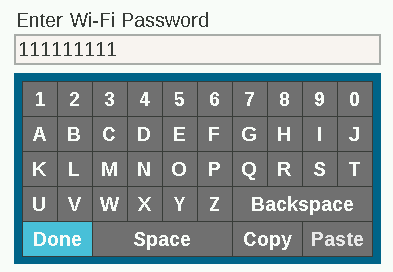
The keyboard entry screen will appear when you select the network. Use the keyboard to enter the password for the router. Many passwords are case sensitive, so use the Caps Lock soft key to turn capital letters on or off as required.

When the password is complete, dial to Done on the keyboard and select it.

The screen will show “Wi-Fi: Connecting…” while it connects. When a connection is successfully made, the screen will show “Connected to Router,” and the network is joined, along with the IP address it has been assigned.

The module is now ready to connect in the software. Use an internet-connected computer or mobile device to visit Centralus Site.
Still need help? We're here.
Tell us what you need support with and we'll find the best solution for you.

